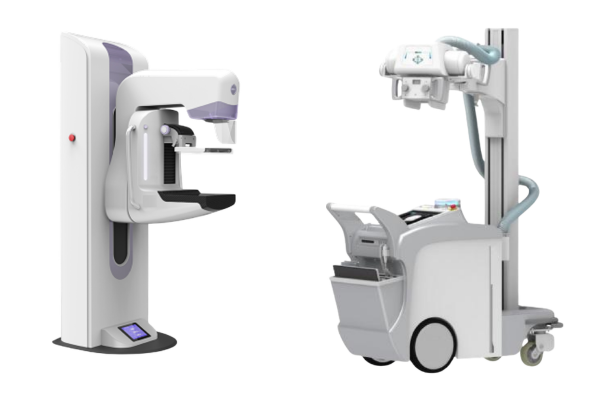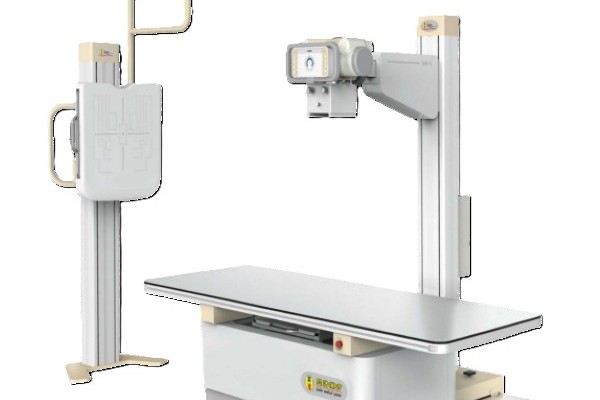
How Long Does It Take to Install Dynamic Digital Radiography?
Installing a dynamic digital radiography system typically takes two to four weeks from uncrating to clinical sign-off. Site readiness, structural wall modifications, and hospital network integration determine the exact execution timeline. Radiology departments structure the project into three distinct phases: room construction, hardware assembly, and system commissioning. Facilities with pre-shielded walls finish installation much faster than older suites needing heavy structural upgrades. Proper scheduling keeps routine patient workflows active while integrating your new dynamic digital radiography unit.
Phase 1: Structural Room Modifications and Power Preparation (1 to 2 Weeks)
Contractors must complete all room renovations before heavy imaging hardware arrives at the facility loading dock.
Structural engineers reinforce ceiling beams to hold heavy overhead rails securely. Electricians run dedicated 380V power lines to handle peak generator voltage draws. Construction crews install lead sheets inside walls to satisfy local radiation safety laws. Completing structural work early prevents drywall dust from fouling sensitive optical sensors inside your dynamic dr hardware.
Mechanical Assembly and Dynamic DR Alignment (3 to 5 Days)
Field engineers assemble primary dynamic digital radiography components once room contractors finish structural preparation.
- Uncrating Hardware: Engineers position the floor-mounted gantry, elevate the patient table, and wire the high-voltage generator.
- Mechanical Alignment: Technicians align the X-ray tube head with the flat-panel detector to prevent beam tracking errors.
- High-Voltage Wiring: Electricians connect main power feeds to ensure stable pulse sequences during motion studies.
- Console Configuration: Software teams install workstation GPUs and set baseline acquisition protocols.
Accurate mechanical alignment prevents tracking errors during continuous Dynamic DR motion studies.
Software Calibration, DICOM Setup, and Clinical Training (3 to 5 Days)
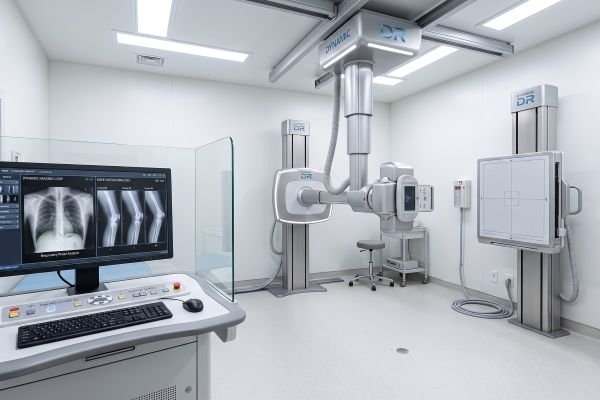
Final project steps focus on network connectivity and clinical staff onboarding.
Engineers run diagnostic calibration routines to ensure stable frame capture speeds. IT teams prepare dynamic digital radiography consoles for daily PACS transfers using standard [DICOM] protocols. Clinical application specialists train technologists on patient positioning tools and video playback features. Thorough hands-on training prevents operational delays during the initial launch week.
Timeline Overview for System Installation Projects
Completing dynamic digital radiography room checks guarantees safe exposure control. You can use this phase summary to plan your department schedule:
- Site Preparation: 7 to 14 Days (Ceiling reinforcement, high-voltage wiring, lead shield lining)
- Equipment Assembly: 3 to 5 Days (Gantry positioning, detector leveling, generator cabling)
- IT Calibration: 2 to 3 Days (Detector gain calibration, PACS routing checks, network validation)
- Clinical Application: 2 to 3 Days (Staff positioning protocols, software workflow reviews)
Conclusion
Planning a dynamic digital radiography installation requires balancing structural construction, mechanical alignment, IT integration, and staff training. Structuring these phases carefully minimizes departmental downtime and protects daily clinical revenue.
You can request a tailored project timeline and site preparation guide from the SEEHO project management team to keep your dynamic digital radiography deployment on schedule.